Time is one of the most important metrics when it comes to business and technology and we are fully aware of that and committed to creating efficient products. Thanks to our partnership with Udevoffice we launched a fully coded “frontend + backend” solution. It features a huge number of components that can help you create amazing websites and brings with itself innumerable advantages: a lightweight, fast, scalable and modern way to execute your next top app. But let’s see how it works.
Prerequisites
- NodeJs
- Git (optional but useful)
- An IDE (Visual Studio Code)
- Docker
- Argon Dashboard NodeJS
NodeJS
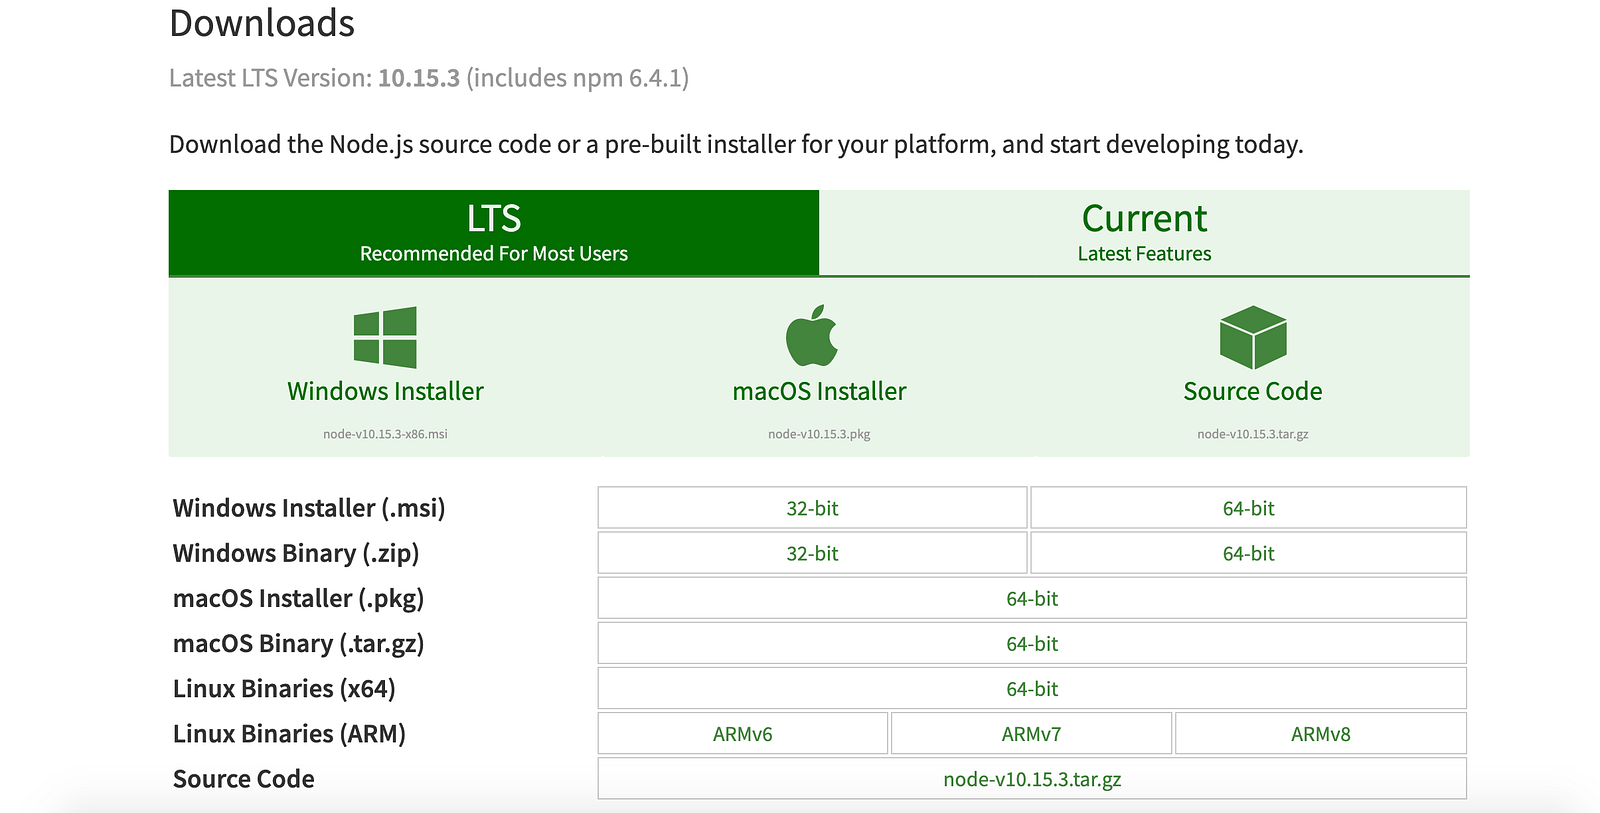
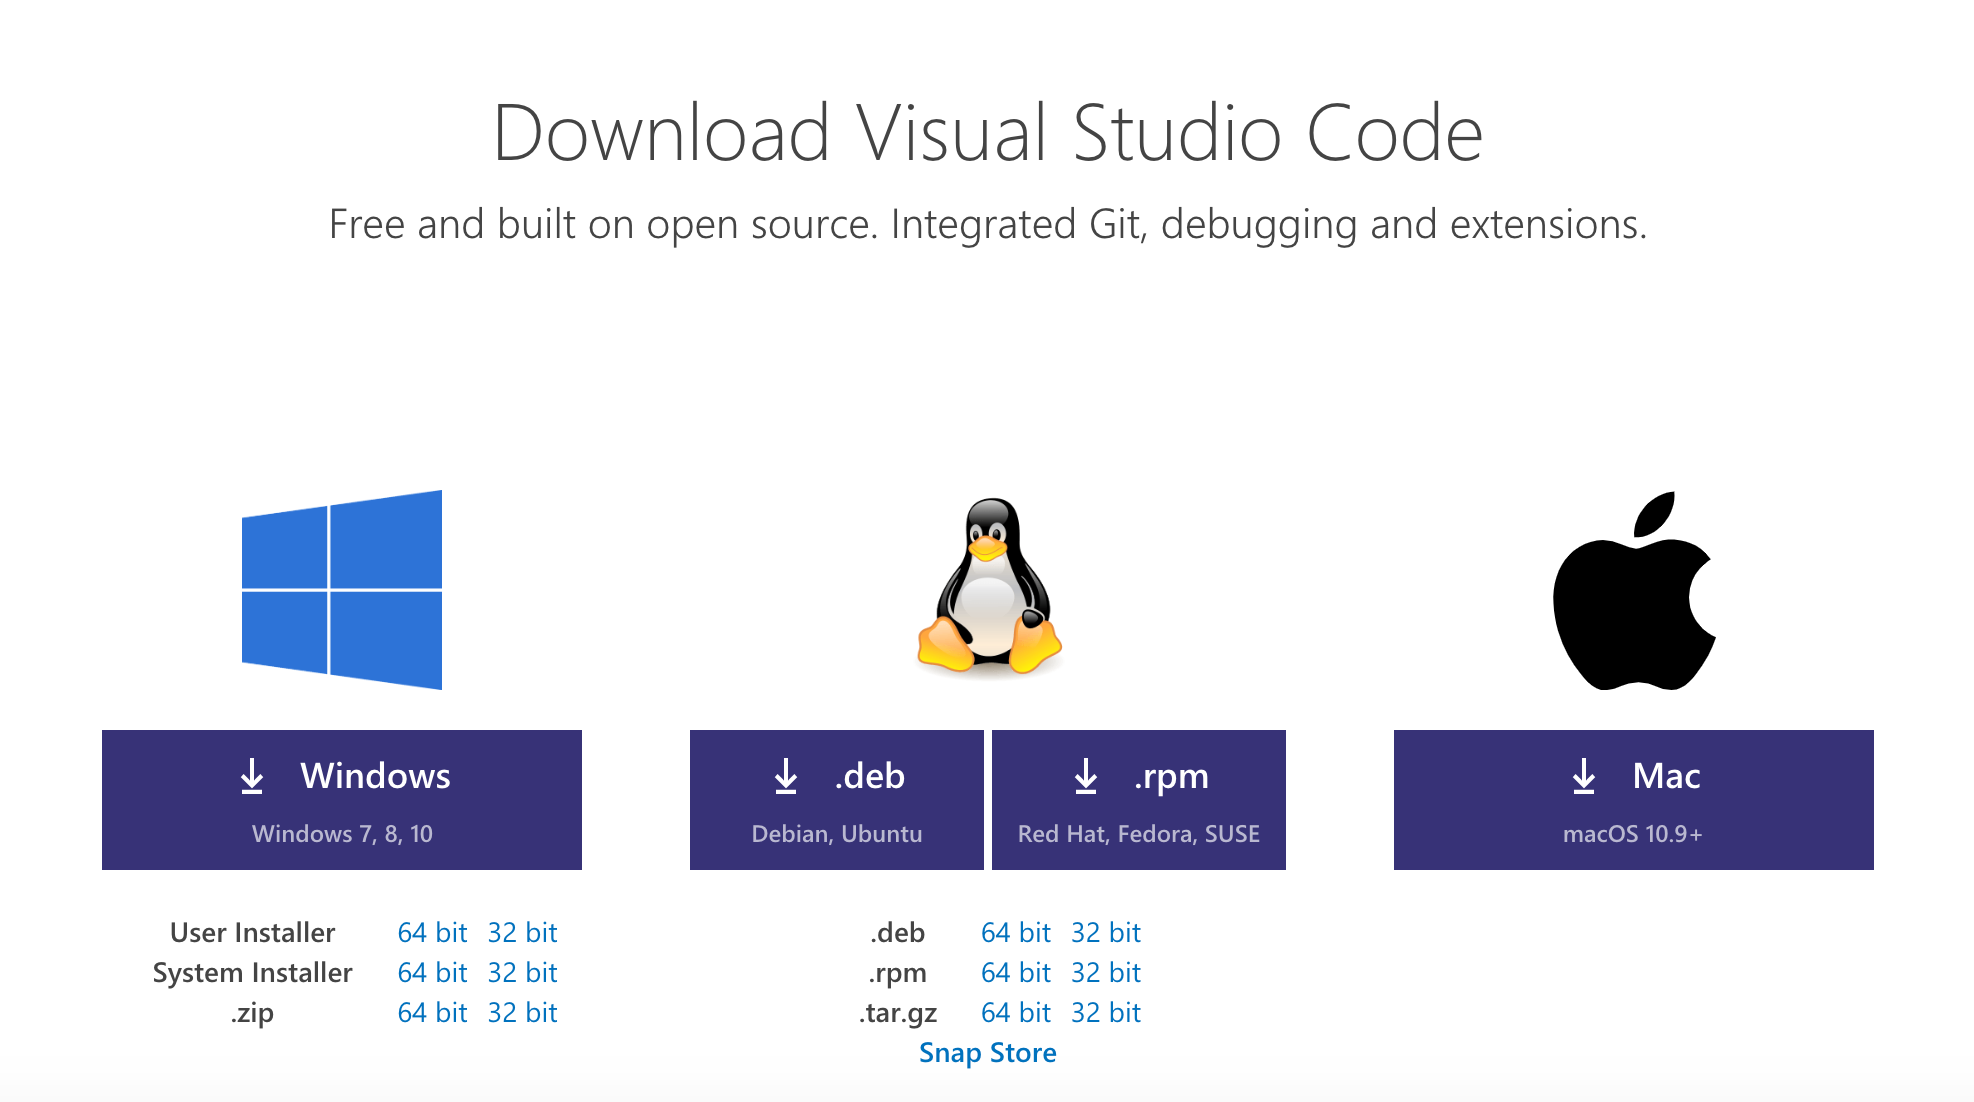
First of all, you should have NodeJS installed on your machine, if you don’t already, install a version that is equal to 10.x.x or higher from the official download page.
For the purpose of this guide, we can use the LTS Version which is recommended for most of the users.
After completing the installation, verify the NodeJS version by opening your favourite terminal (macOS: Open Spotlight Search using CMD + Space then type in “Terminal” without the double quotes and you should have it among the results / Windows: Windows Key + R then type cmd and then press Enter) and then in the command prompt, type node -v

Mind you, NodeJS also comes with a package manager called NPM, one that we’re going to use down the road quite a lot so…that’s great! Now let’s install a version control system (VCS), one that can also help us clone projects and work in a comfortable manner, directly from the terminal.
GIT

Then again, check the installed version using the Terminal together with the following command: git --version

Visual Studio Code
Before actually getting the Argon Dashboard, we will also install an awesome IDE so that we can work directly from there. We’ll use Visual Studio Code, since it’s free, open source and amazing.
After the installation is complete, start the the IDE and open a folder that is to be used for work. We’ll use the Desktop folder for easier understanding.
Docker
Docker is a tool that allows you to run your application in a container (or more) while operating under the same kernel.
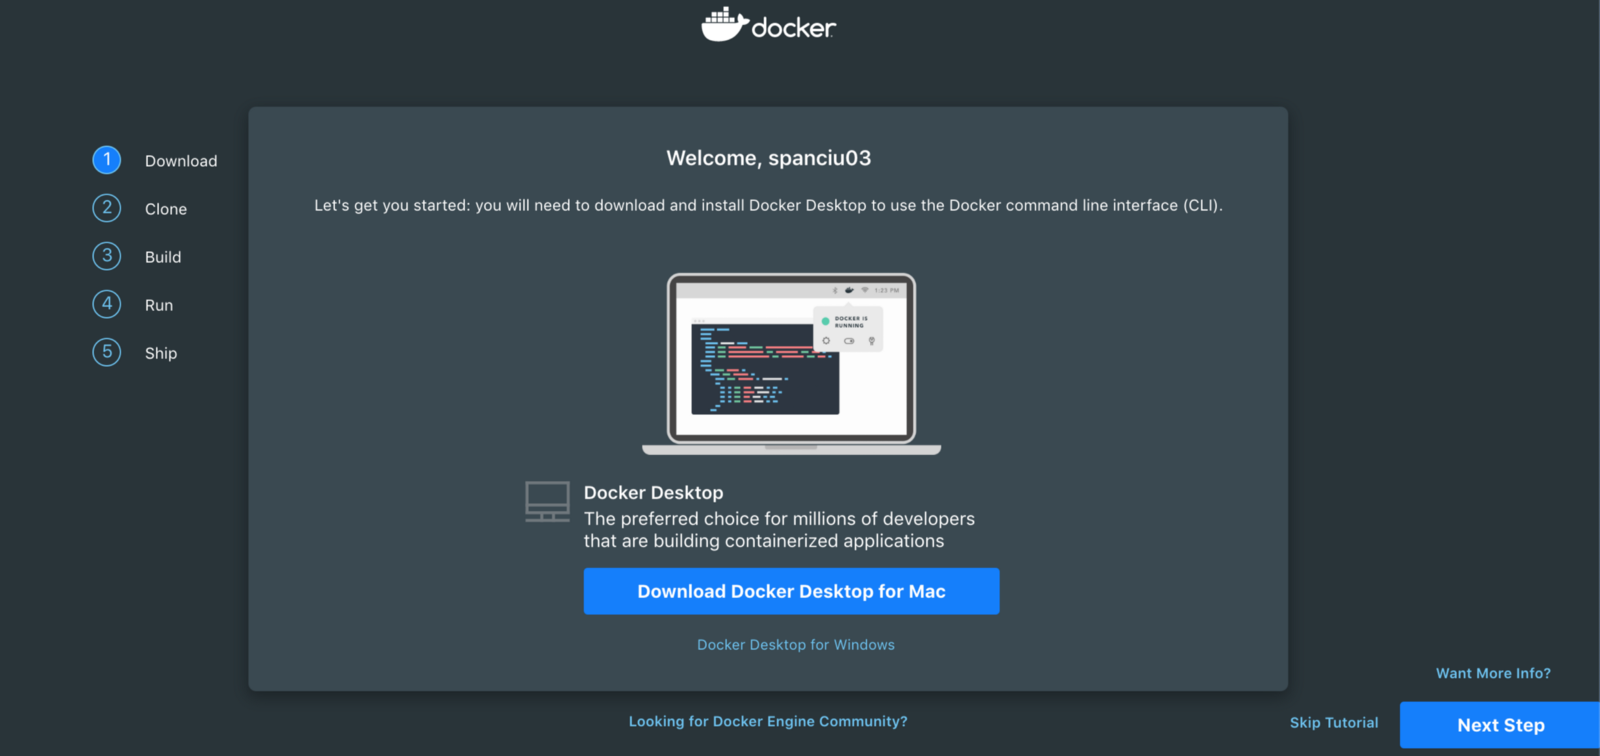
Start by creating a free account on https://hub.docker.com (absolutely free, no credit card or anything else required besides the e-mail address) then proceed to the download page, get the version that suits you and install it.
Now that we have the prerequisites, we should get the dashboard either from the official Creative-Tim website or clone the repository from directly from their GitHub.
Project configuration
Let’s make use of all the things that we’ve installed so far and get to work!
First of all start Visual Studio Code then go toFile -> Open -> Desktop in order to select the initial working folder, then open up the terminal inside the IDE, so we can safely stay within it and not tab out multiple apps: View -> Terminal and in the bottom part of the screen, type mkdir Projects in order to create a folder named Projects, then access it via terminal using cd Projects command.
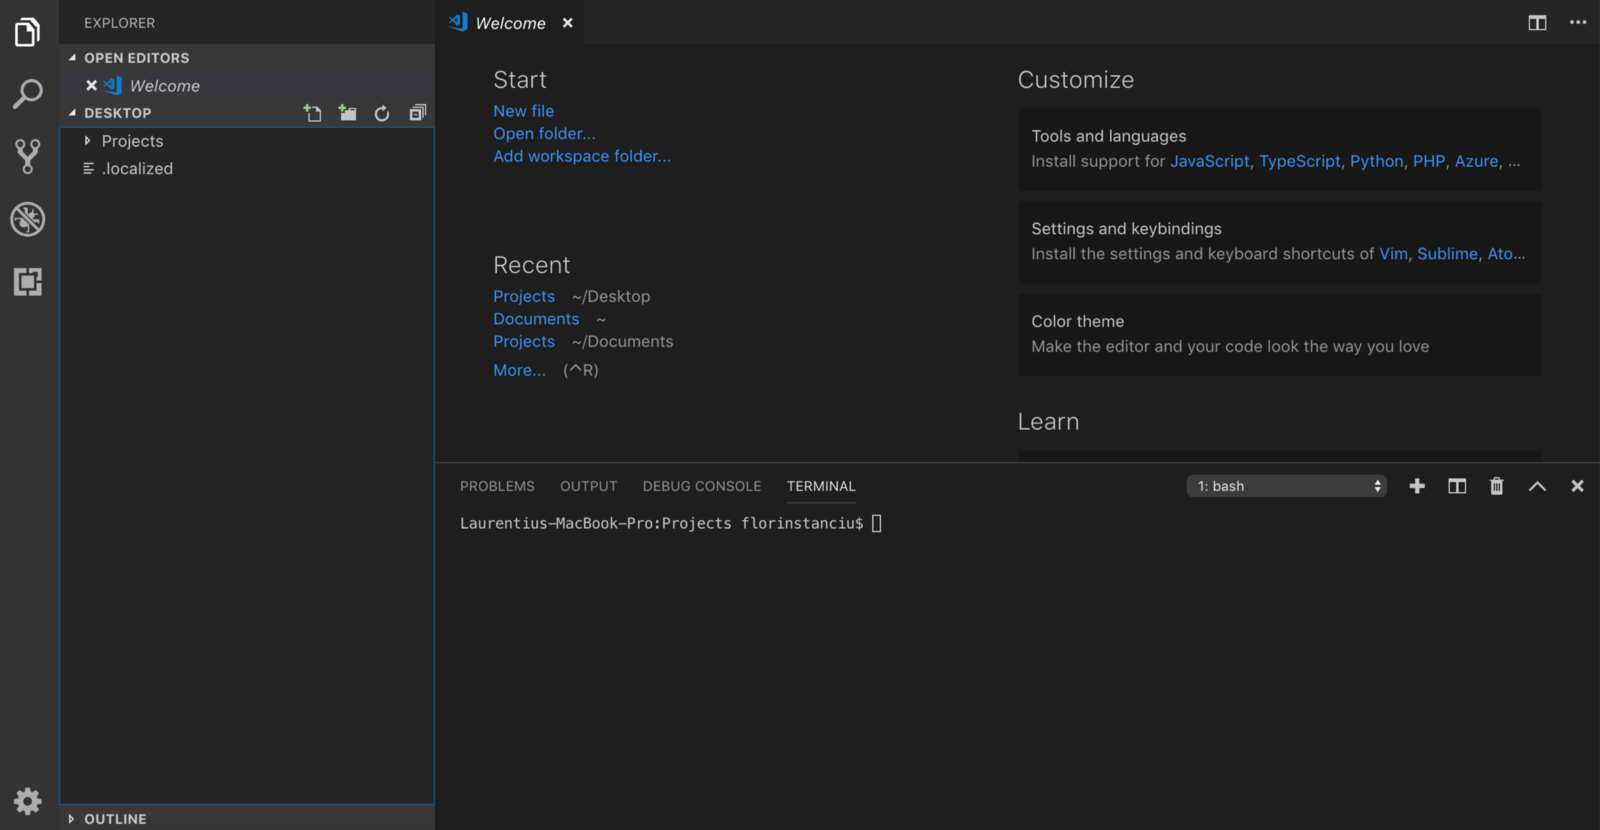
You should get something like this
We will use Argon Dashboard NodeJS, check the live preview here
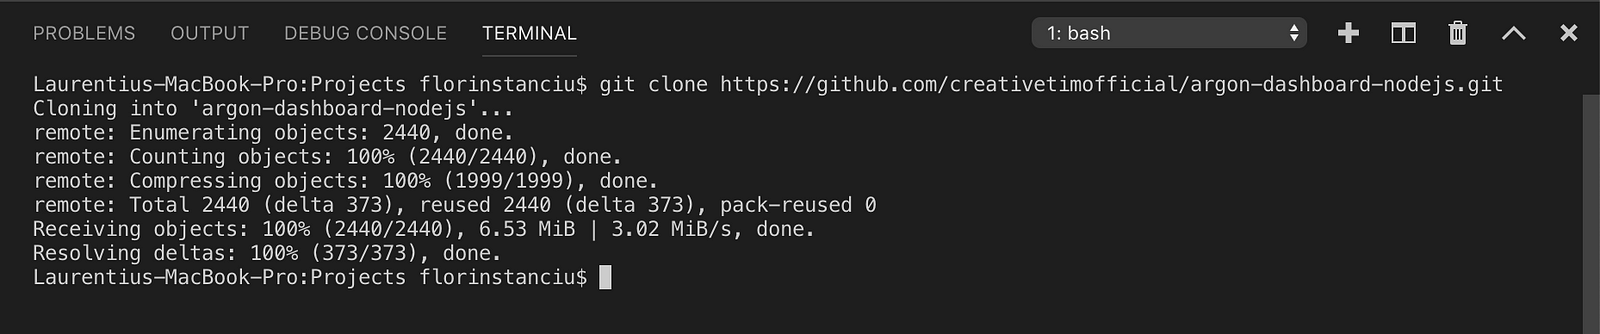
To make use of GIT, now that we’re in the Projects folder, type the following command:
git clone https://github.com/creativetimofficial/argon-dashboard-nodejs.git
This will clone (download) the Argon Dashboard archive and unzip it into a folder named argon-dashboard-nodejs which will become the project folder or also called Project Root Directory
Then use the terminal within Visual Studio Code and dive into the folder that just appeared inside Projects, cd argon-dashboard-nodejs
Once in the argon-dashboard directory, it’s time to install the required dependencies needed to run the dashboard. For that we’ll use NPM: npm install

Some dependencies might appear to be outdated and/or throw a couple of warnings, nothing to be afraid of!
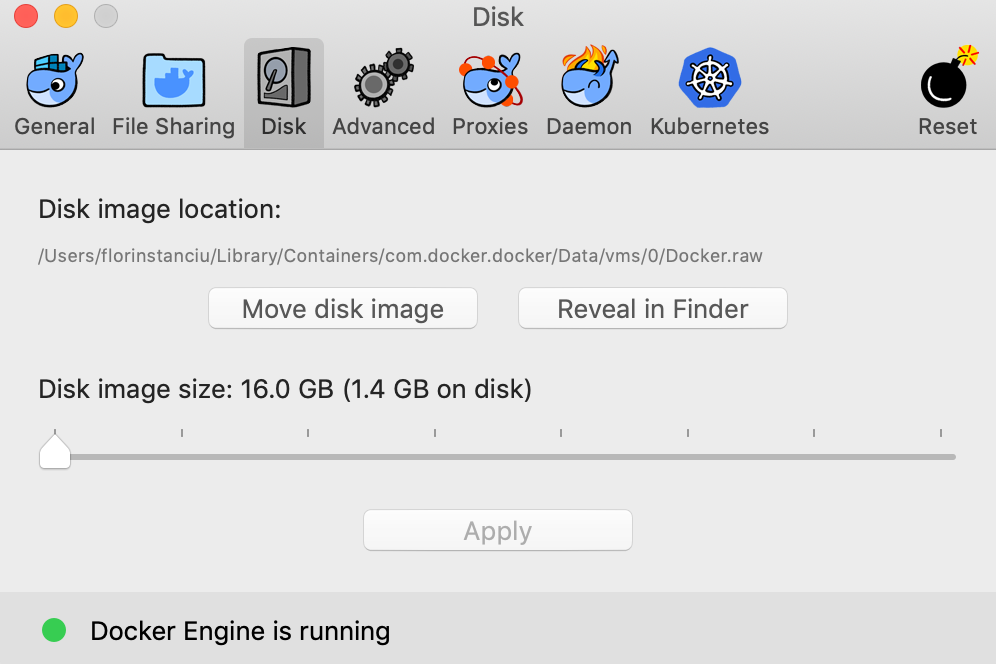
So far so good! Now, since Argon Dashboard is optimized to run on Docker containers, we’ll have to start Docker. Unless you’ve selected some extra preferences, it should be already up and running. Since it uses virtualization to create the containers, Docker will reserve by default some storage. By default, Argon Dashboard is quite a simple app so it shouldn’t require that much space so I would advise that the default value is changed, just in case you’re struggling with available storage:
Docker -> Preferences -> Disk
Such a wonderful experience so far!
Now let’s head back to Visual Studio Code and in the terminal that you should already have opened (in the argon-dashboard-nodejs directory) and type docker-compose up -d
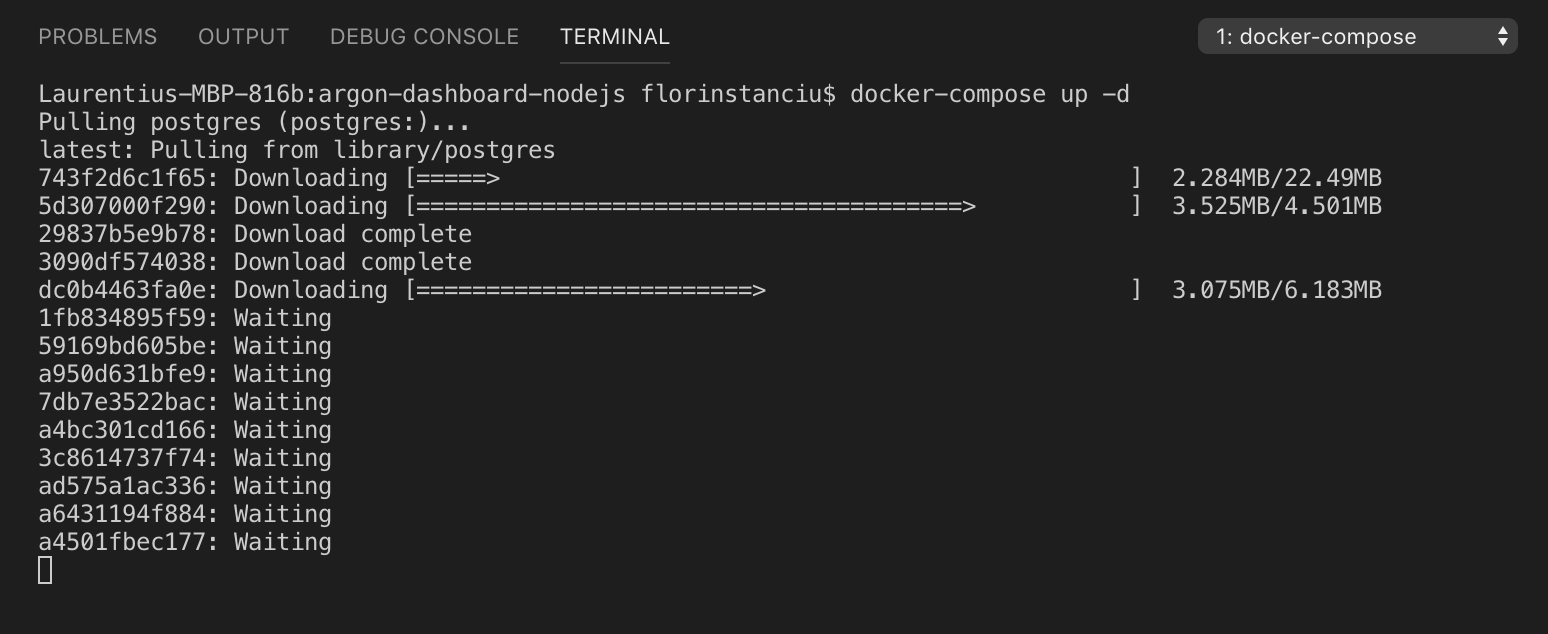
After all images are downloaded, the containers should automatically start. This can be easily verified using the docker ps -a command which lists all created containers:

Now that we have the containers up and running, the next thing is to run the Database migrations, in order to create all the required tables and columns.
In order to do this, in the terminal we will make use of NPM to run the following command: npm run knex migrate:latest
We can also run the seed script, which will create a predefined (found in the db -> seeds -> create-deafult-user.js) user and add it to the database: npm run knex seed:run
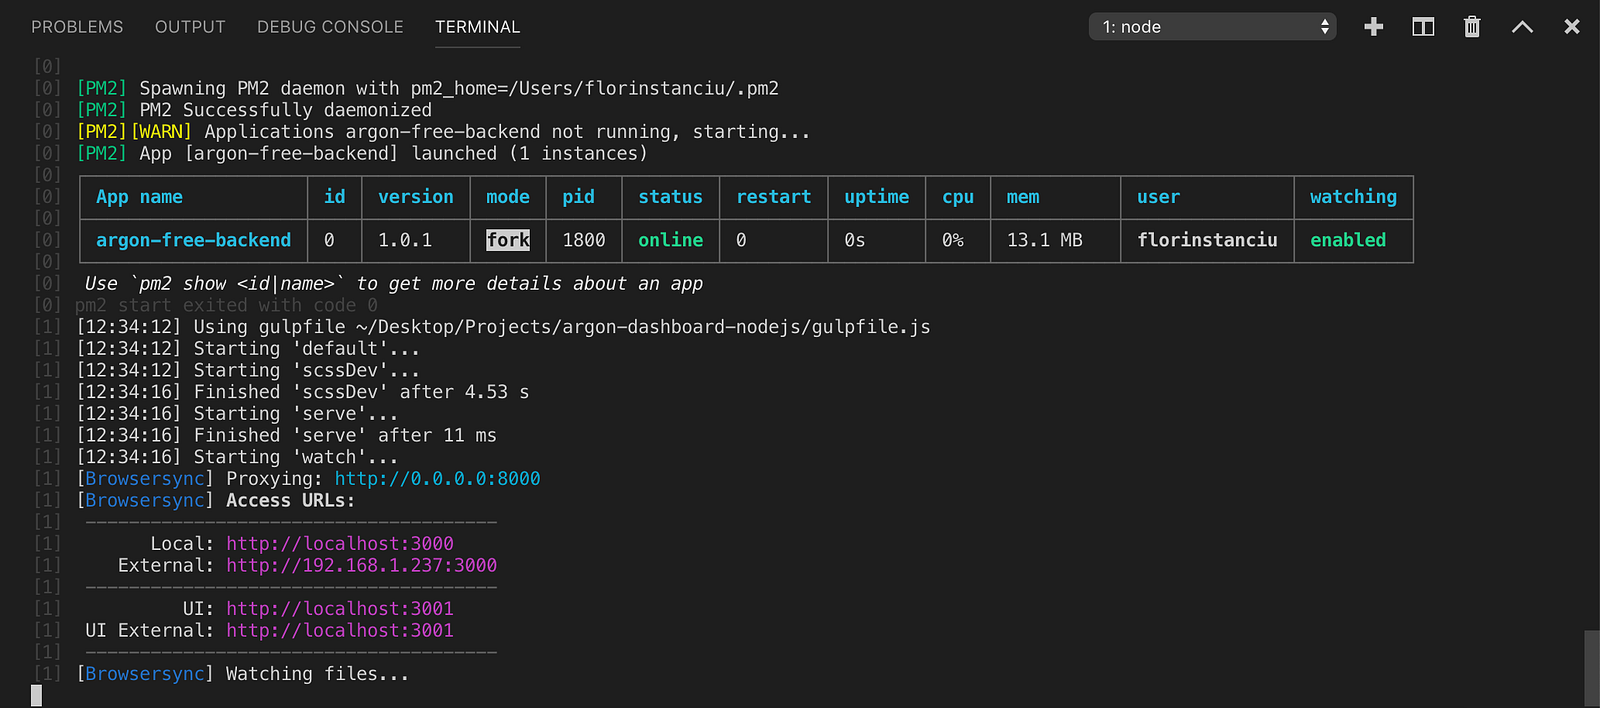
Everything should be properly configured by now, we just need to start the application and explore it by using npm run dev which will start a pm2 process that manages the app, while also opening a new browser tab/window with the dashboard:
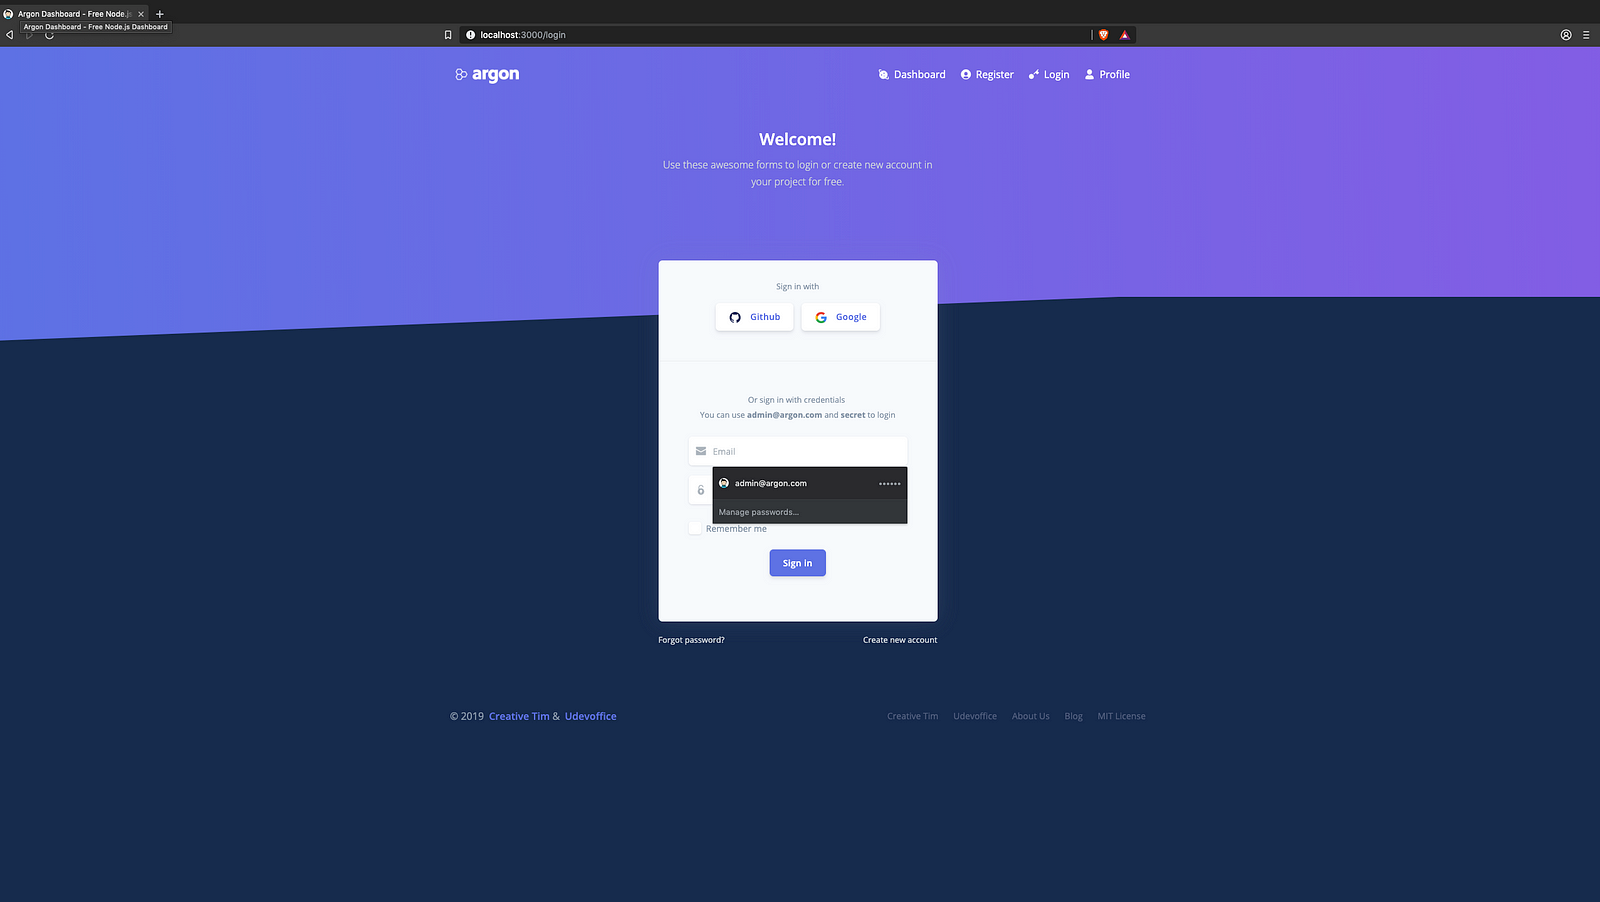
Everything is done! You can now start fiddling with stuff around and get creative! Login with the default user [email protected] / secret and have fun!

![10+ Best UI/UX Books that Every Designer Should Read [2025]](/blog/content/images/size/w960/2022/01/cover-blog.jpg)